[responsivevoice_button rate=”1″ pitch=”1.2″ volume=”0.8″ voice=”US English Female” buttontext=”Story in Audio”]
Master Chief Collection campaign co-op not working? Here’s how to fix it
Diving into Halo 3’s campaign with an online friend (or several) sometimes simply doesn’t…work on PC. You’ll send out the invites and group up, pick and load a mission, and then the game abruptly hangs before kicking you to the main screen. Or you’ll get to play for a short while, and then everything freezes and boots you.
Either way, you get torn apart and can even lose your progress, both of which are irritating as hell. And this experience isn’t isolated to Halo 3—it can happen with other Microsoft games that rely on Xbox Live servers for multiplayer too, be it the rest of the Master Chief Collection or Forza.
The problem is usually related to network address translation (NAT) and Windows 10’s Teredo service. As a networking issue, it can be a little nebulous to solve, as the reasons for the trouble vary from person to person. To help, we’ve gathered all the major troubleshooting steps you can take (and have had to try ourselves) to fix the problem.
How to fix Halo 3 campaign co-op connection issues
 PCWorld
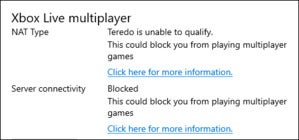
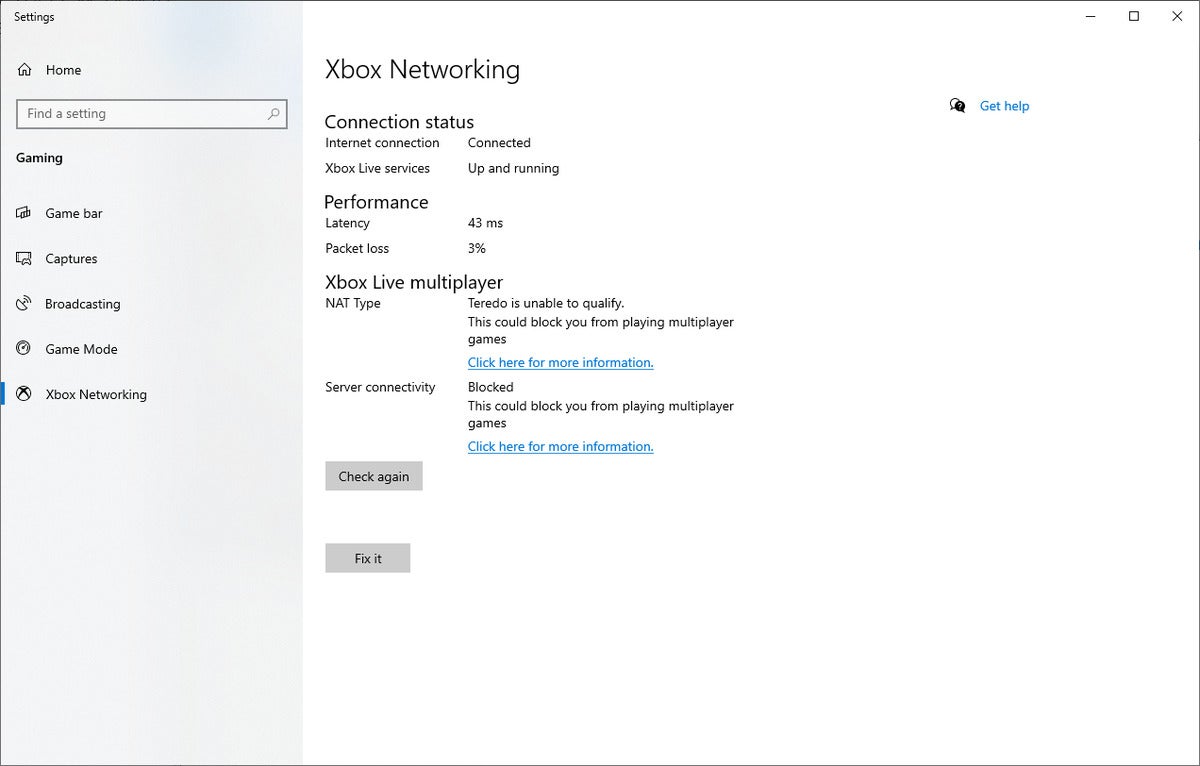
If you’re having problems with Halo: MCC’s online campaign co-op, you’ll very likely see a report similar to this one.
To summarize the matter, Xbox Live servers handle multiplayer connections for Halo: Master Chief Collection (even on PC), and if you’re not connected to them with an open NAT type, it can hinder the quality of your multiplayer experience or outright block co-op play.
So your ideal end goal in walking through these troubleshooting steps is to achieve open NAT while connected to the servers. Moderate NAT can work as well in select circumstances (see below), so don’t despair if your router won’t cooperate.
- Open NAT: Can connect to users with any NAT type
- Moderate NAT: Can connect to users with moderate and open NAT
- Strict NAT: Can connect only to users with open NAT
(Anecdotally, we’ve had the most consistent success with moderate NAT when the rest of the party all had open NAT.)
Step 1: Find out your Xbox Live connectivity status
First determine the exact nature of your problem by getting an Xbox Live connectivity report in Windows 10’s settings.
Go to Settings > Gaming > Game Mode > Xbox Networking (or type “game mode” into Windows Search), then wait for the screen to report on your Xbox Live multiplayer settings.
 PCWorld
This report tells you the depth of your server connectivity issues.
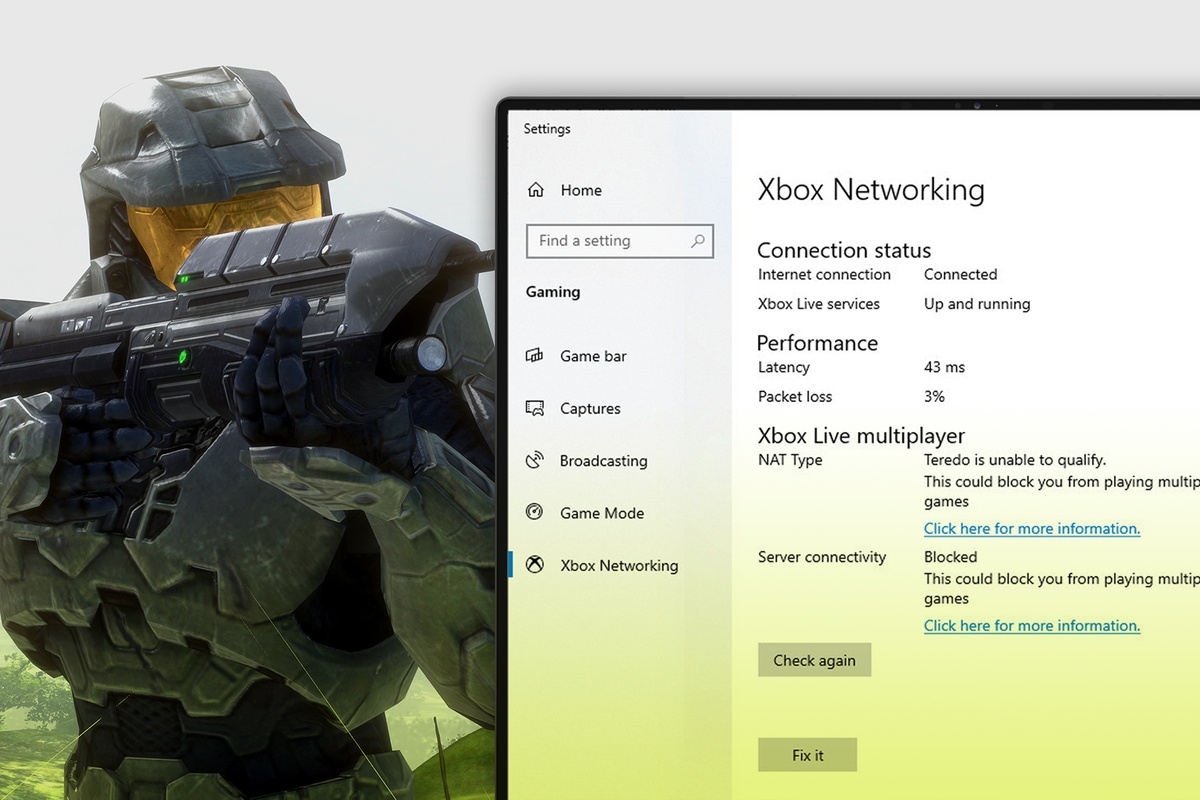
Most people with this Halo: Master Chief Collection co-op connectivity problem will initially see a screen that says that Teredo is unable to qualify, and that you could be blocked from playing multiplayer games. A smaller group will also see a message saying that server connectivity is blocked.
Step 2: Let Windows try to fix it
Windows 10 can sometimes resolve the issue itself. In this same Xbox Networking screen, click on the Fix It button. Wait for it to report that it attempted to fix the problem, then click on the Check again button.
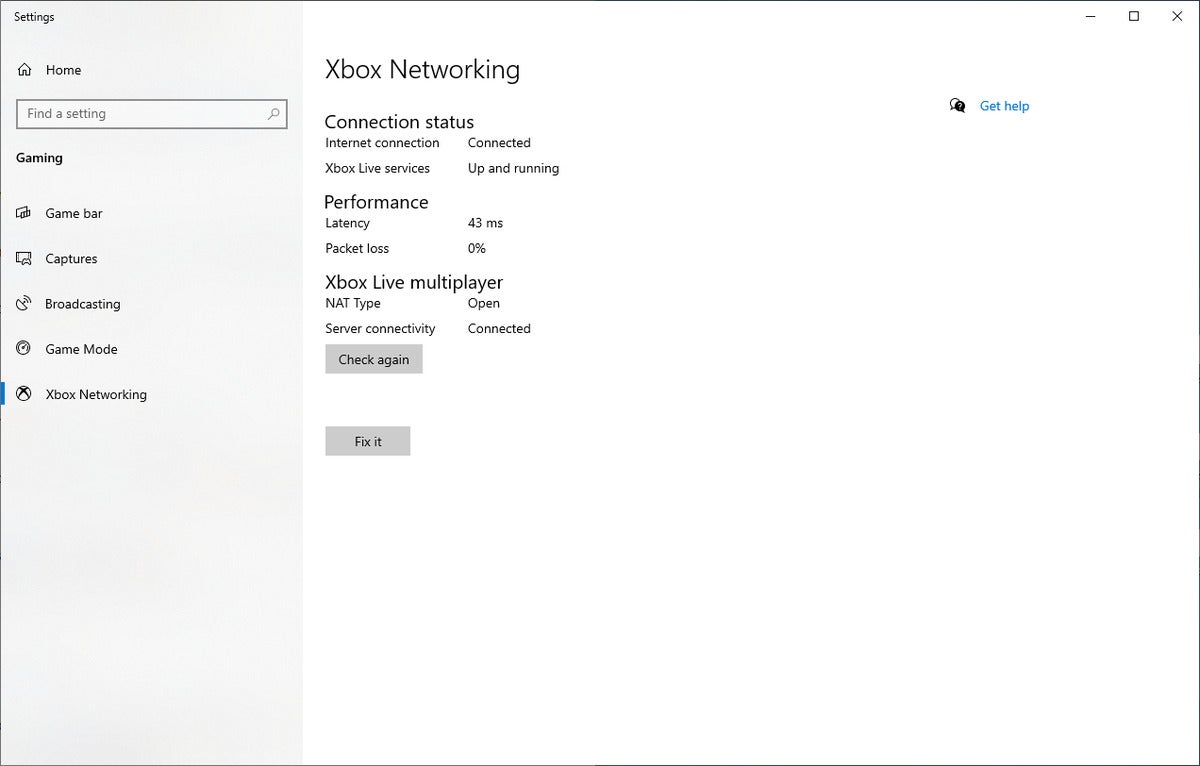
The fortunate will see a refreshed report showing an open NAT and a connection to the Xbox Live servers. Try campaign co-op again; it should now be successful, provided that your party has the same settings.
 PCWorld
This report is the ideal end goal. Having an open NAT while connected to the Xbox Live servers should eliminate any campaign co-op issues.
Note: For some people, this step is only a temporary fix. You may need to perform it before each planned session of campaign co-op.
Step 3: Further troubleshooting
Alas, Step 2 doesn’t always fix the problem on its own—even when you perform a reboot as suggested by Windows. You’ll have to dive a little deeper.
The various solutions run a fairly wide gamut, so we’ve begun with suggestions that are simpler or more often clear up the problem and ramp up to those that are more involved. After you’ve tried one solution, reboot and then try steps 1 and 2 again before proceeding to the next suggestion.
- Under your Date & Time settings, choose “Set time automatically,” then click on the “Sync now” button. (Some services can break when a mismatch in time occurs between your PC and a server.)
- Enable Windows Firewall.
- Make sure you have no personal or corporate VPN services blocking access to Xbox Live ports.
- Confirm that your antivirus or firewall software is not blocking the specific ports needed to connect to Xbox Live. Look for the settings that assign permissions to incoming and outgoing ports.
- Set up manual port forwarding on your router or combo modem/router device for the ports needed to connect to Xbox Live. (You can also enable UPnP [Universal Plug and Play] on your router, but it does have more of a security risk.) Some routers are far more accommodating than others, so you may need to look in your manual or find tips from other users on Google to figure out how to do this. After completing this step, power-cycle your router, then follow with a reboot of your PC.
- Right-click on the Start Menu icon in your taskbar, then open the Windows PowerShell (Admin) Enter the following commands:
netsh int teredo set state disablenetsh int teredo set state type=defaultnetsh int teredo set state enterpriseclientnetsh int teredo set state servername=teredo.remlab.net
- Verify that your settings match those outlined at the bottom of page 1 in this Microsoft community forum post.
- Also try restarting each of the four services mentioned.
- In the Network and Sharing Center part of the Control Panel, disable any network connections you’re not using—for example, if you’re using Wi-Fi, disable ethernet.
- To later re-enable, navigate to this same window, click the “Change adapter settings” link, and then right-click on the connection to find the option.
- Check if any other programs might be creating a conflict with your Xbox Live server connection—for example, a “Game mode” in one could be causing a conflict with port routing. To narrow the list of potential troublemakers, review what programs you have installed and determine which actively use or manage network ports.


